When the folks at Yogatrōpic asked me to be their resident vegan blogger, I struggled with how I wanted to approach it. I felt like I owed something to vegans everywhere, without even knowing what that might be. I could tell you about how I made my transition from meat eating child, to vegetarian teen, to vegan adult—but that would be a really long story. So, instead, I’ll start with my first memory of cooking.
I was probably eight years old and my mom had signed me up for a cooking class at a local park and recreation center. This memory sticks in my mind because the recipe we used was super weird. It was a baked crispy chicken recipe—A DIY Shake n’ Bake. What made the recipe odd was the fact that the breading was a mixture of crushed potato chips and Rice Crispies. It involved cleaning the chicken breasts, dredging them in egg, and throwing them in the gallon-sized bag full of the chips and cereal that we’d had fun crushing up.

So, why recreate this recipe in a vegan version? To celebrate my husband’s long awaited and newly achieved American citizenship! We decided to throw an American themed party, complete with classic dishes from the standard American diet (SAD). The choices were pretty sad—mostly centered around meat and potatoes, and lots of comfort food. I knew this chicken recipe from my childhood memory would make a perfect addition to our American fare party. My husband is not vegan, but he loves my cooking and appreciates when I can “veganize” things.
I researched other vegan recipes that use a dredging technique before frying or baking. As any vegan cook will tell you, it is tricky to get a similar binding power to eggs. I decided to try my own concoction in combination with a couple of other tricks I’ve learned for getting a nice, crispy outside to this chicken that wouldn’t completely fall apart upon hitting the hot oil.
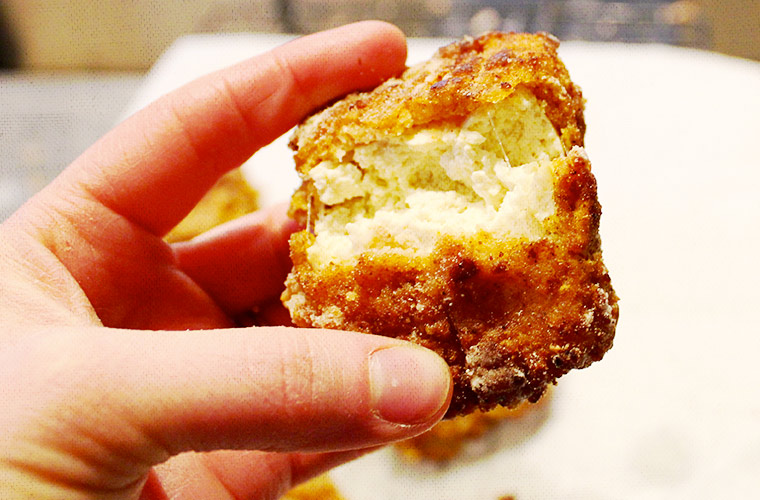

I divided the batch into two meat alternatives: chicken-style seitan and tofu. I split them into halves before baking one half of each, and then frying the other half. The important thing is to make sure both the tofu and seitan are fairly dry. The tofu should be pressed to get extra moisture out. I recommend putting the block of tofu under a plate with something heavy on top of that. The longer it presses, the better. Even as I was setting up my dipping station, I let the pieces sit on paper towel to dry out a little more.
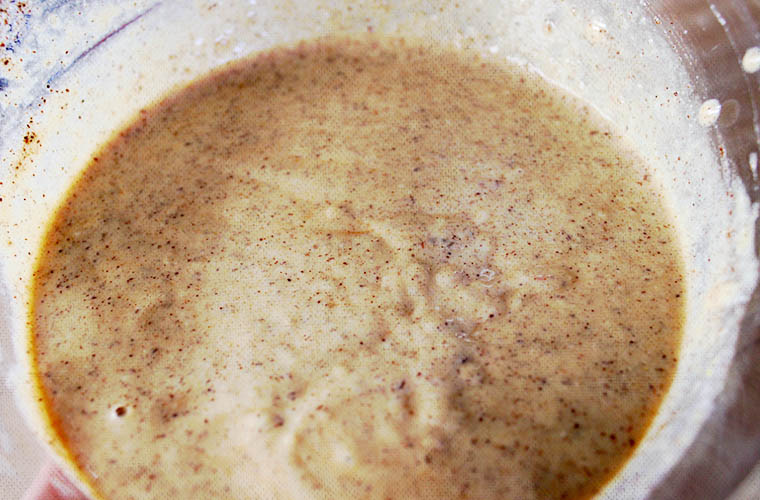
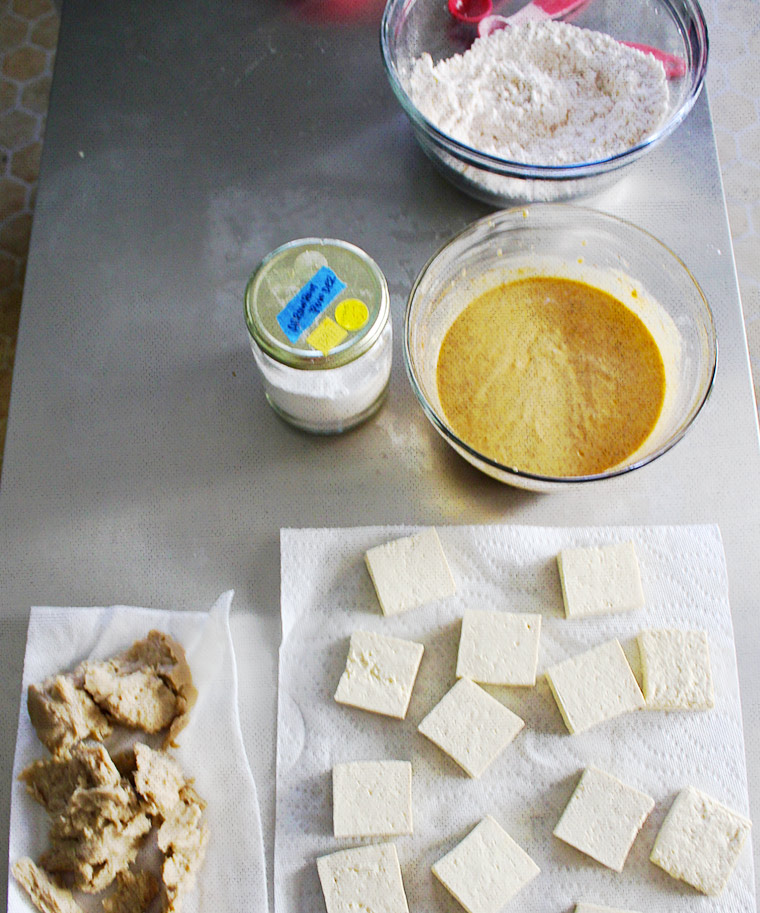
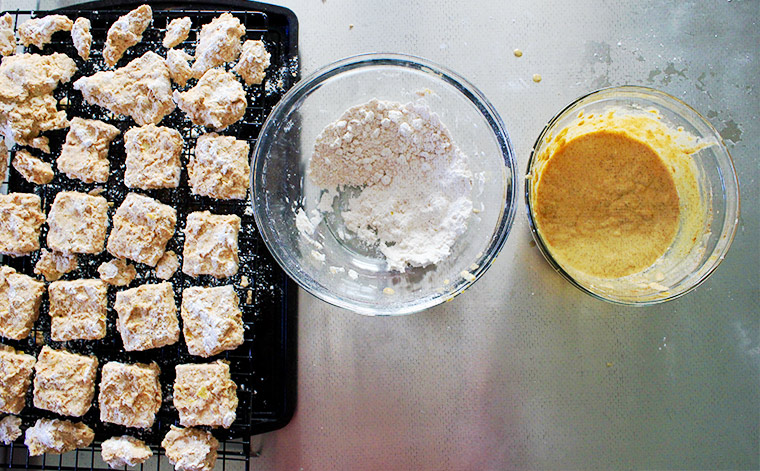
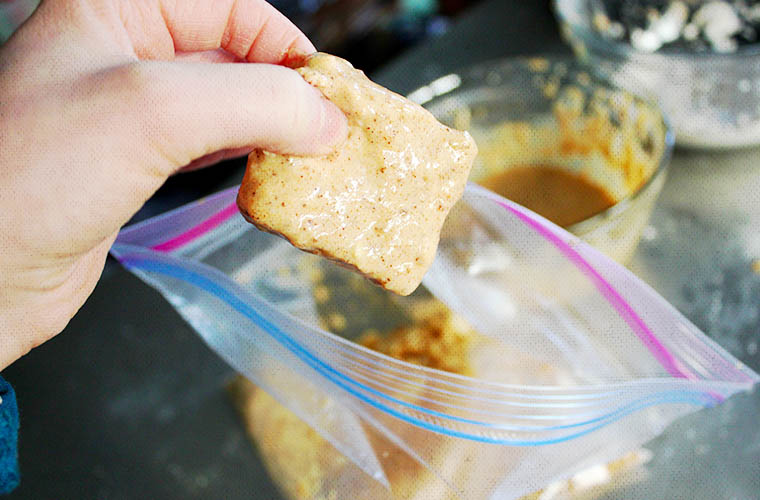
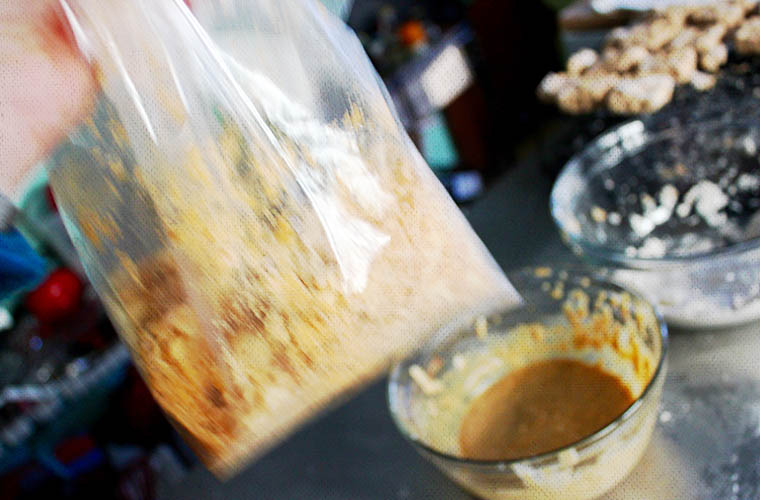
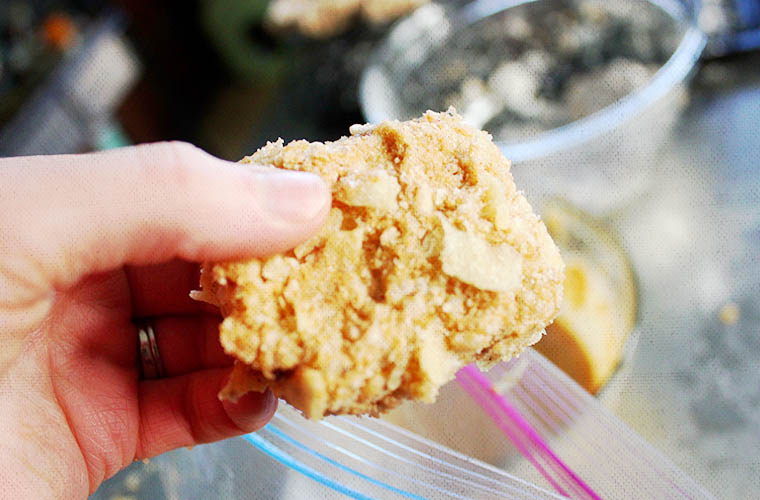
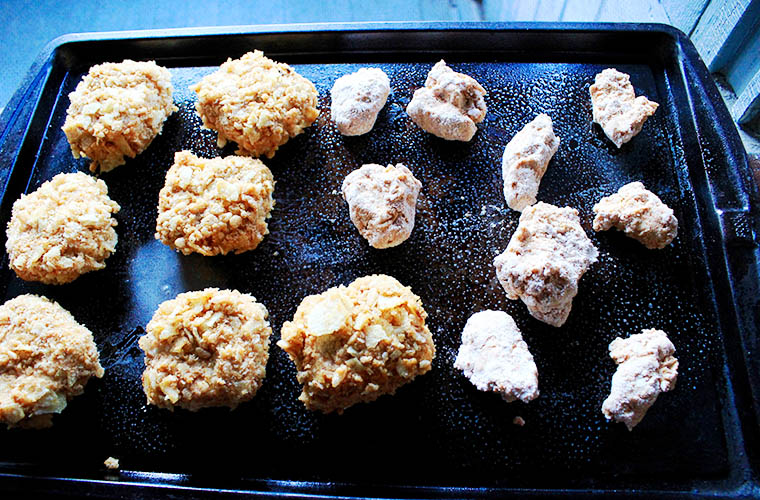
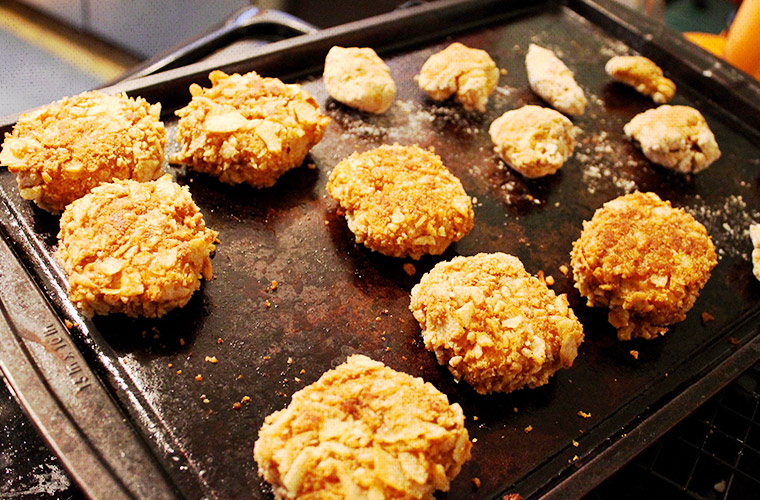
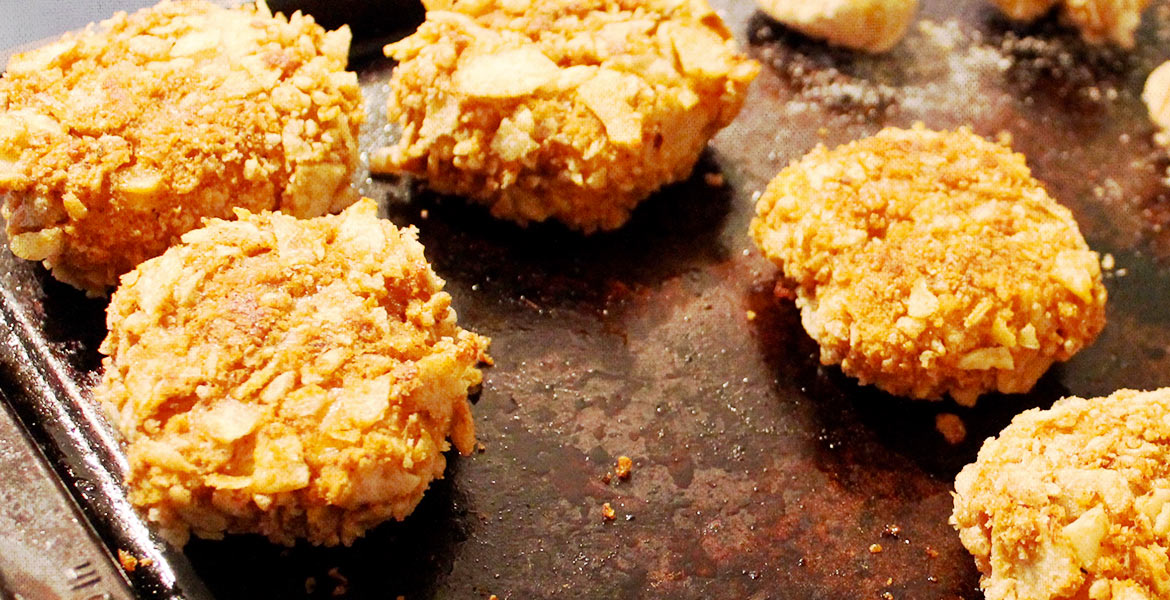
There you have it! Vegan Fried Chicken! I personally preferred the tofu—I like the contrast between the soft inside and crunchy outside. The seitan did have a nice flavor inside, and it has a chewier texture more akin to meat. If you make ahead (which might be necessary, since this is not a quick recipe), these will keep in the fridge for five to seven days. When you’re ready to eat, reheat them in the oven at 350 degrees for 7–10 minutes.

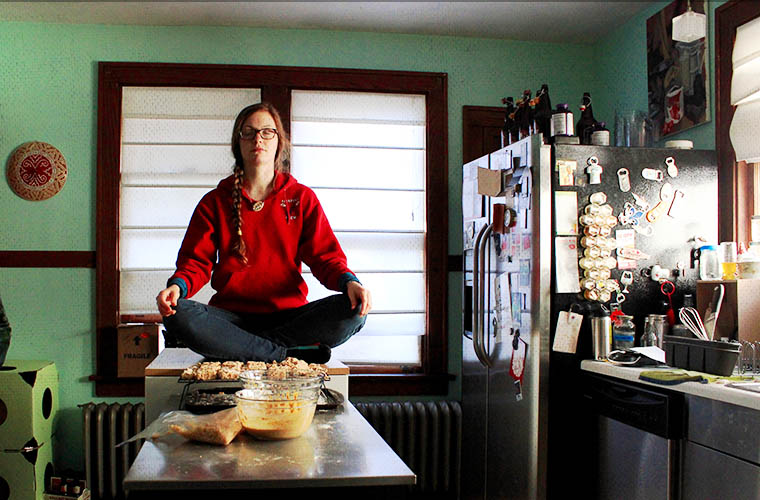
I hope you enjoy this recipe! Our guests at the party loved it. In the future, I’ll probably post some healthier recipes, but sometimes you just need some fried food! It’s all about the balance. Here’s a bonus picture of us celebrating in the unseasonably warm weather of February 28th in Albany, New York. See if you can spot me (Hint: My pants are the most American).
Namasté,
Kate
Ingredients
- 1 pound extra firm tofu block
- 1 package chicken-style seitan (I used West Soy brand, but be warned: the pieces were inconsistent in size)
- 2 tablespoons arrowroot powder (or cornstarch)
Wet Mix
- 1 flax egg (1 tablespoon ground flax seed + 3 tablespoons water)
- 1/2 cup almond milk
- 1/2 cup soy yogurt
- 1/4 cup hot sauce
- 3 tablespoons yellow mustard
- 2 teaspoons chili powder
Dry Mix
- 1 1/2 cup all-purpose flour (I used gluten-free)
- 2 tablespoons arrowroot powder
- 2 teaspoons nutritional yeast
- 1 1/2 teaspoon smoked paprika
- 1 teaspoon black pepper
- 1 teaspoon cayenne
- 1 teaspoon salt
- 1/2 teaspoon onion powder
- 1/2 teaspoon white pepper
Shake N’ Bake Mix
- 2 1/2 cups crisped rice cereal
- Several handfuls potato chips (I used about half the bag of Kettle Chips pictured)
- 1/4–1/2 cup Canola Oil (if frying)
Instructions
- Drain water from packages of tofu and seitan.
- Wrap tofu in a towel and press under a plate with something heavy on top (I used a jar of dry beans).
- Lay seitan on a towel to dry.
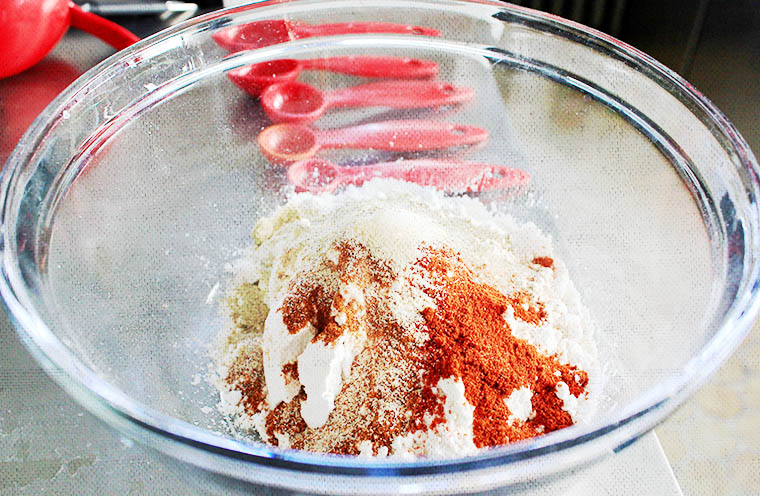
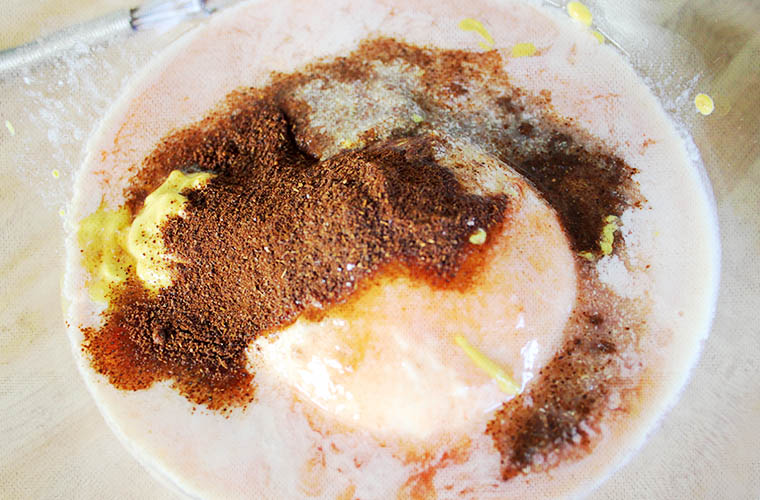
- While those are drying, combine the wet mix in one medium mixing bowl and the dry mix in a large mixing bowl. Whisk each so they are well combined in their separate bowls.
- Lay out a set-up for the pieces to dry after they are dipped and breaded. Drying racks work well— especially with something underneath to catch whatever falls.
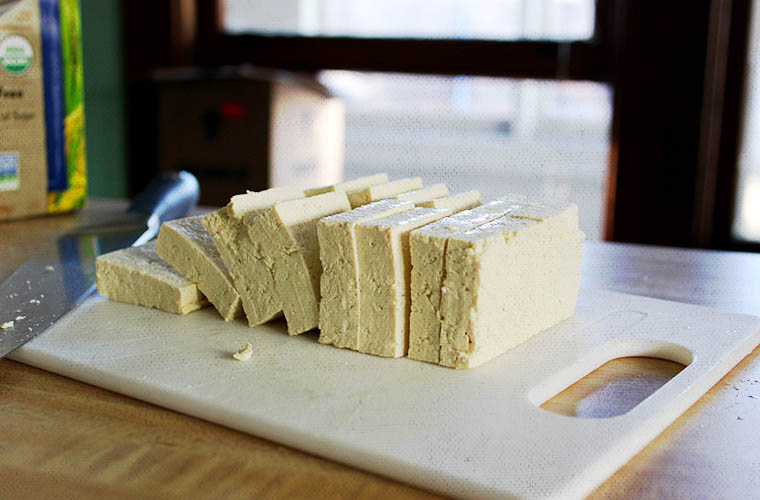
- Cut tofu into whatever size pieces you’d like. I cut my block in half lengthwise, and then sliced it into half-inch thick pieces.
- In a gallon-sized bag, combine the tofu and seitan pieces with the arrowroot powder. This gives them the perfect dry coating before they go into the wet mixture.
- From the bag, take the pieces out one at a time and dip them in the wet mixture (shaking off any excess), and then into the dry mixture, and finally onto the drying racks. What worked best for me was using one hand to do the wet dipping and the other hand to do the dry dipping. Make sure the dry mixture covers the surface completely. An effective method I found was to grab a handful of the dry mix with the dry hand, plop the piece down in the bowl, then cover and pat it before gently fishing it out.
- Leave the pieces to dry on the racks for at least 30 minutes.
- While you wait, you can have fun crushing the potato chips and crisped rice cereal in a gallon-sized bag. You don’t want to crush the mixture into a fine powder, though— it’s nice to have the pieces bigger for more texture. If you have any of the dry mix left, you can throw that in the bag too after everything is crushed.
- Dip the dried pieces one at a time into the wet mix and throw into the bag of potato chips and Rice Crispies. Shake thoroughly, and then place back on the drying rack.
- Allow to dry for another 30–40 minutes. You can squeeze in a meditation while you wait!
- If you are baking, use this time to preheat your oven to 400 degrees. Then, skip to step #17.
- If you are frying, put the canola oil in a pan toward the end of the drying time so you can get it up to temperature. If you have a thermometer, you can check to make sure the oil is at 350 degrees. Otherwise, heat the oil over medium heat. You’ll know it’s ready when you put the end of a wooden spoon in the oil and it has little bubbles around it.
- Fry the pieces (without crowding the pan) for a couple of minutes on each side until you see the edges turn golden brown.
- Place fried pieces on a paper towel to blot some of the excess oil.
- If you are baking, place pieces on a lightly oiled or parchment-covered baking pan for 15 minutes. Flip the pieces over, and then bake another 10–15 minutes.


Yeah, Kate! go Perinton Parks and Rec!!! I was always hoping that those classes were fun!! But ha, noticing that your story definitely does not start with “l grew up cooking by my mother’s side” hahaha! Love, Mom